There’s the good old blender in your kitchen – always ready to serve your morning fresh smoothie urges, or even those times when you want to be fancy and make a good hummus for your folks. It’s a tool that works wonders for multiple things especially when you’re in a fix, which is why you’d need to know exactly how to care for your blender. You wouldn’t want your glass of protein shake to have a tinge of garlic in it, right? This article will show you how to clean a blender safely without injuring yourself, damaging any parts, or using unsafe chemicals to do the job.
Whether it’s an appliance you use every day or just once in a while, it’s a machine that needs proper cleaning, inside and out. By following the steps below, you’ll be able to grasp the right and safe ways to clean a blender.
Table of Contents
Why Do Blenders Smell?
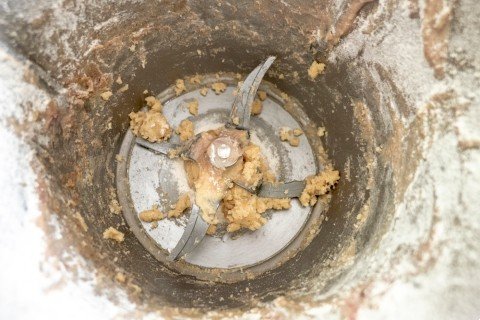
There are many reasons to wash a blender thoroughly, particularly the jar. Many times people tend to think a good rinse is enough to clean out all the ingredients they just pureed. Sure, you’ll get most of the particles out, but remember, there are a lot of corners that can retain food particles. You may use a really good scrubber or brush to get to those corners, and eventually, you could get them all out.
But one thing that is particularly tough to remove, is the odor. The smell of your blender could at times be rancid due to old ingredients left drying for too long, or a burning smell could be caused by the blender’s motor overheating after a long duration of use. Something as simple as making your daily bulletproof coffee in a blender can cause a bad odor over time because the ghee used in the recipe isn’t washed out properly with normal cleaning. These strange, weird smells are aplenty. Some odors can be rid of by thoroughly washing with the appropriate soaps and scrubbers but sometimes even that isn’t enough and you would need to try different methods to get the job done. Learn more about all the reasons why a blender may smell.
How to Deep Clean a Blender Jar
The blender jar. An easy enough container to wash, right? Certainly a lot easier to clean than a juicer. Well, it’s not that easy unless you apply the right methods to the madness of cleaning your blender and maintaining hygiene in your kitchen. When we talk about maintaining hygienic standards, we’re mainly talking about the jar. The main vessel for your produce.
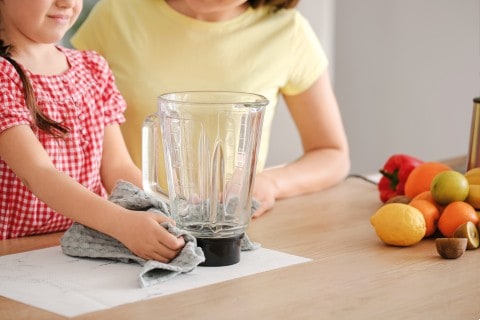
For everyday cleaning, the easiest method is to just squeeze a couple of drops of liquid detergent into the jar and fill it up to the halfway mark with water to blend for a few seconds just as you would do any other concoction. Then just rinse it out with plain water and let it air dry thoroughly before putting it away.
While everyday cleaning of the jar may be straightforward, there are numerous ways to clean your blender jar more thoroughly, but they all have their specific purposes. From using lemon juice and baking soda to regular detergents, just follow these methods to get rid of that bad blender smell and/or stains.
How to Clean a Cloudy Blender
This is an issue you would face mainly with plastic jars, not glass jars. No matter what you use the blender for, or what you put into it, the item’s extracts are bound to cloud up your jar even after a wash.
However, there is a particular concoction used just for this purpose and it involves the use of baking soda as explained below.
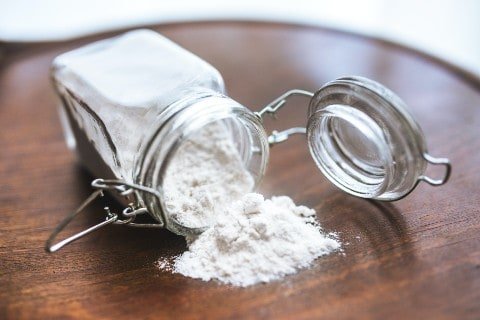
How to Clean a Blender with Baking Soda

Baking soda is an ingredient that is very commonly used to clean a variety of kitchen tools and containers because it’s just that effective. It’s also used to clean a moldy coffee maker.
Once you’ve safely detached the jar from the main machine, mix some baking soda with water, enough to make a thin paste. You will need a thin enough consistency to spread it around the jar and its corners. Let the mixture rest on the insides of the jar for at least 20 minutes and then wash it all out with some water and gentle scrubbing with a sponge or soft scrubber. This should remove any dirt or smudges, leaving you with a clean, fresh-looking jar.
You could also use baking soda in another way by mixing 2-3 tablespoons with the juice of one whole lemon and a little water. Shake the jar around or lightly blend the mixture, scrub gently with a sponge and rinse. This concoction would help greatly in getting rid of any weird blender smell.
In case you still have a cloudy jar, then you might want to try the next method.
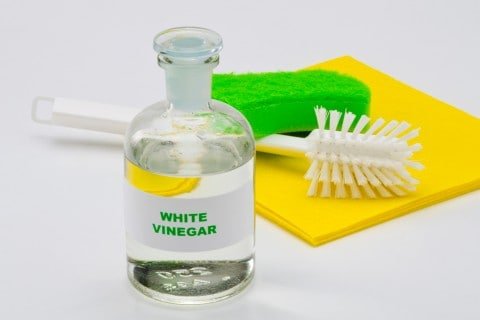
How to Clean a Blender with Vinegar

A good way to remove not only stains but also remove any odor from your blender is to add a cup of distilled white vinegar into your jar and fill the rest of it with warm water. You could call it a vinegar bath for your jar. Leave it idle for a few hours, then rinse it out and lightly rub the interiors of the container with a soft scrubber or sponge. This is a common way to remove limescale caused by hard water from a kettle.
How to Clean a Plastic Blender Jar
With a plastic jar, it is more likely that it would retain bad odors than a glass jar would. So, to effectively clean your plastic jar, mix some distilled white vinegar with baking soda until it forms a toothpaste-like consistency. Then scrub the jar with the mixture using a toothbrush to get all those pesky corners and blades free from food and smell. After about 5 minutes of scrubbing, rinse it thoroughly with water and wipe it gently with a dry, clean cloth to get a nice shine onto it.
How to Clean a Blender Motor
Your blender motor, which means the whole base unit, can get very dirty over time. This is an electrical piece. So cleaning it out with water isn’t a good idea at all in case it flows into the motorized part. The best thing to do is to make a mixture of equal parts water and baking soda, then lightly dampen a clean towel with the mixture and wipe down the entire base unit. Use a toothbrush for narrow corners, if required. Make sure to air dry it completely before plugging it back in for a spin.
How to Clean a Blender Rubber Ring
The rubber gasket ring to your blender can easily be cleaned by scrubbing it properly with a toothbrush and some dish soap. The inner side of the ring is the tricky part here, which is why the bristles of a toothbrush should be used and will be highly effective.
How to Clean Blender Blades

Cleaning a blender’s blades is a relatively simple task. When cleaning, all you need to do is gently scrub the blades with a toothbrush dipped in liquid dish soap. For very sticky blades (depending on what you blended), let the blades soak in the soap water for 5-10 minutes, and then scrub once more and rinse. While you can let them air dry, it’s best to use a dry towel to soak up any remaining water on the blades so that they retain their sharpness for many years. Make sure not to soak them in water for too long, as the natural hardness in tap water would blunt and corrode the blades.
How to Clean Rusty Blender Blades
There are numerous ways to remove rust from a blender’s blades. But, no matter how severe the rusting is, soaking the blades in white or apple cider vinegar is a very effective way to be rid of any rust on the blades. The amount of time they soak depends on the severity of the rusting. If it’s not too much, an hour or two of soaking is enough. Then, scrub the blades well using a steel wool scrubber but don’t be too harsh with it. Once done, make sure to dry it well.
FAQs
A blender is used to blend ingredients of all sorts and if these ingredients are not cleaned out before its next use, you will have a terrible odor and spoilt food in your blender jar. This is very unhygienic, and will also be very tough to clean after letting a used blender sit for a long time before washing.
Most blender jars can be put into a dishwasher. However, if it has not been washed or rinsed immediately after being used, you could have dried food stuck around it, which could be tough solely for a dishwasher to take care of. Being an electrical appliance, only the jar and lid are safe to put into a dishwasher.
The hot water and harsh detergent used in a dishwasher are not recommended when washing blender blades. This would slightly blunt the blades over time. Therefore, it is advised to wash the blades gently by hand.

