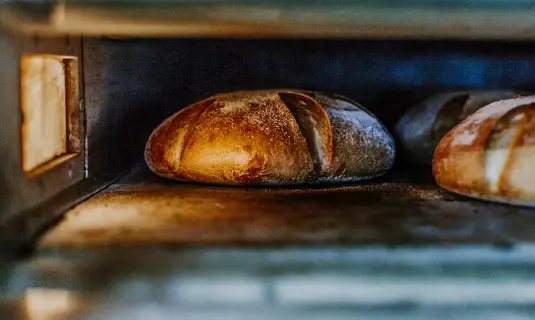
Different bread-making machine models and brands offer varying bread-making experiences and end results even if you’re using the same recipe. Although more energy-efficient than most standard gas and electric ovens, bread makers bake loaves of bread that are usually relatively denser and heavier than oven-baked bread. If you have a preference for light and airy loaves of bread, then making dough in a bread machine and baking in the oven might be the best option for you.
Known for the convenience and comfort provided, bread machines are highly preferred, specifically by novice cooks, since it does most of the hard work for them. However, machine bread is often oddly shaped and features a tougher crust due to the confined space of the machine’s pan and the estimated run time. For this reason, most knowledgeable cooks prefer making dough in a bread machine and baking in an oven thereafter.
Continue reading to learn how to make a perfectly light, airy, and tasty end result using both your bread maker and the oven!
Table of Contents
Why You Should Consider Baking Bread Machine Dough in an Oven
As previously stated, bread makers have a confined pan space, which allows the machine to ultimately control the shape of the bread. You can control the shape and second rising of the bread machine dough as well as the baking process by baking it in an oven. Furthermore, if you want consistent results from your bread maker, you may need to invest in specialized bread machine flour. This additional cost, however, may not be worth it, as there are numerous workarounds.
The light and fluffy texture is only achieved when the dough is given enough space to rise, which can sometimes be accomplished if you use an oven instead of a bread maker. Another advantage is that you don’t risk the loaf turning soggy due to condensation formed inside a bread machine. Bread machine bread baked in the oven can turn out really well. To summarise, you don’t have to do everything by hand if you want to use your oven for breadmaking because some steps, such as kneading, can be done with the help of a bread machine.
If there’s one disadvantage to using a bread machine to knead dough and then the oven it’s that it is more energy intensive compared to using the bread machine throughout.
How to Use a Bread Machine to Make Dough
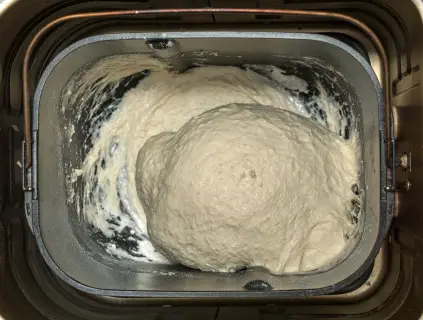
Can you make dough in a bread machine and remove it before it bakes? Depending on the brand and model of bread maker, there are different instructions for making the dough on the dough cycle. However, each machine usually has a “dough only” setting that you can use to start the process. If your machine doesn’t have this setting, you’ll have to keep an eye on your dough and take it out as soon as the first rise is over and the dough has settled. Many modern machines emit a beep at the end of each stage so keep your ears open for the beep at the end of the first rise stage. The machine will do the heavy lifting of combining the ingredients, kneading the dough, and allowing it to rise for the first time.
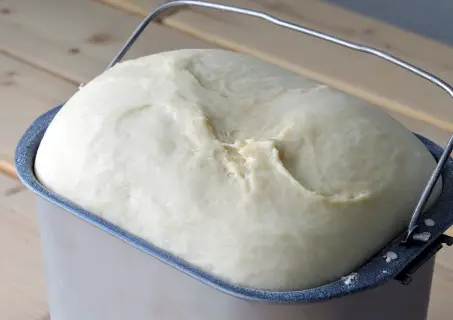
For optimal results, it is recommended to add the liquids first, followed by dry ingredients, yeast, and flour. After the mixing, kneading, and the first rise is complete, you will notice that the dough has almost doubled in size; this is your cue to take the dough out of the bread maker for the remaining manual steps.
One thing to note is that if you want to do the baking in an oven and you already have a good stand mixer, there’s no point getting a bread machine just for kneading. You can just go ahead and use your stand mixer to mix and knead your dough.
How Long is the Dough Cycle on a Bread Machine?
Typically the bread machine dough cycle time lasts about 1.5 hours. However, it might vary depending on your bread maker’s model and brand. During the initial 15 to 30 minutes, the machine mixes and kneads the dough, after which it allows the dough to rest and ultimately go through the first rise.

It’s a good idea to read the general instructions for your specific bread machine to learn about its dough cycle. Some machines allow two rises during a single dough cycle, meaning if the dough rises twice, then that would indicate that the first dough cycle has been completed. Most newer models indicate the completion of the kneading cycle with a beep, which helps cooks in assessing the dough cycle.
How to Finish Bread Machine Dough in the Oven
After ensuring that the first dough cycle has been completed, you can proceed to remove the dough from the bread maker and move it to a floured surface, where you will be shaping or dividing it according to your preferences. Typically, most cooks advise shaping the dough in a manner that the thickness comes to about ½ to ¾ inch, but you can practically shape the dough however you like.

To get the classic loaf shape, you will need to shape it in a rectangle and begin folding it. You can do so by folding the one-third of the end farthest from you and then folding the side closest to you the same way. Repeat the process after turning the dough 90 degrees, checking for excess flour and turning the dough again so that the seam is at the bottom. Roll the dough into a cylindrical shape, pinching the seams together and tucking the ends towards the seam and pinching them in as well.
The next step is to place the dough in a pre-greased pan and tuck the layered sides in. You can also flatten the dough with your hands. However, you do not need to fill the entire pan because the dough will rise and fill the pan once baked.
Use a plastic wrap or a dish towel sprayed with cooking spray to cover the pan and let it sit in a warm place, allowing it to rise. Depending on the size and ingredients, it should take somewhere between 45 minutes to 1.5 hours for the dough to rise and double in size once again. This is an excellent time also to set a reminder to preheat the oven, as you will need to do so 20 minutes before the rising cycle ends.
Typically, bread with butter, eggs, or whole grains is baked at 350 or 375 F, while the leaner dough is baked at 400 to 425 F. However, you can refer to a cookbook to conclude which temperature will be more suitable for your recipe. Once your dough has completed its second rising cycle, use a sharp razor, knife, or a lame to slash a 1/4 inch thick line along the length of the bread. This will allow your bread to rise while also giving it a professional look once baked.
Once you’ve completed the steps mentioned above, it’ll finally be time for you to place the pan in the preheated oven. The estimated baking time is around 30 to 45 minutes. However, we recommend that you check on it after the first 30 minutes. If the crust on the loaf is brown and firm, your bread has been properly baked. You can also tap it to see if it produces a hollow sound. Remove the bread from the oven and place it on a cooling rack once it has reached a temperature of 180 to 210 F. If you notice your crust browning and firming too quickly while the rest of the dough is still raw, cover it with aluminium foil.
Making sure the baked loaf has reached room temperature before storing it is extremely important to make it last longer.
Can I Put a Bread Machine Pan in the Oven?
It is advised to use a regular oven pan for baking the bread in the oven because it is typically more spacious, allowing the bread to rise and form an even shape. A machine pan, as mentioned, has a confined space, which might not allow your dough to rise sufficiently for a professional look.
Ultimately, it’s the size of the pan that matters the most. If your pan is too big, your bread will come out looking squatty. On the other hand, if your pan is too small, the bread will rise out of it. If you’re following a recipe that entails utilizing 3 cups of flour, a 9 x 5 inches pan might be the most suitable option. On the other hand, if you’ve added a lot of whole grains or seeds or have used whole grain flour, your dough might not rise as much, so you can use an 8½ x 4½-inch pan instead. As long as the dough is only half way filling the pan, you’ll be good to go!
How Long to Bake Bread Machine Dough in the Oven
The baking time typically depends on the size of the dough, the ingredients used, and the temperature of the oven. However, most loaves of bread take about 30 to 45 minutes to bake thoroughly. You might be required to check the progress of your dough after the first 30 minutes to ensure you’re not over-baking or, worse, burning your bread.
Ready to Bake?
We hope this quick and easy method has helped you prepare yourself to make the fluffiest, lightest, most airy, and professional-looking bread using both your bread maker and an oven. While the former makes the process convenient and time- and energy-efficient, the latter will help you bake the tastiest, most professional bread in the comfort of your home.

